We recently moved into a new house, which has quite a few windows. We also have had a very warm June and early July. As a result our house has been pretty warm and uncomfortable lately. Especially since I prefer to use the AC as little as possible… usually meaning none!
I am a big fan of upgrades that will reduce our energy footprint, and especially ones that have a lasting effect of several years or more. I began researching window films that I could install myself, and eventually decided to give the Gila Heat Control Residential Window Film a try. It is available on Amazon, in several sized and varieties. I opted for the 36″ x 100′ foot roll in the Platinum color. The manufacture claims an impressive reduction in cooling costs of up to 50%. They also state it rejects up to 99% of UV, and 67% of glare. I also found that the vast majority of customer reviews were very pleased with it, some stating that it has held up well even after 10+ years of use.
My Results with the Solar Window Film
It took me about an hour for the first double hung window I did, but the results were excellent. With each additional window I am slightly faster, and the results have stayed consistently good.
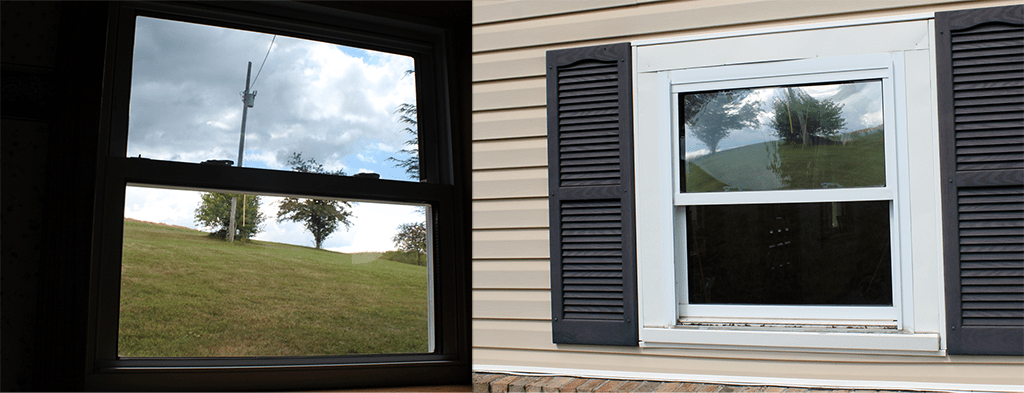
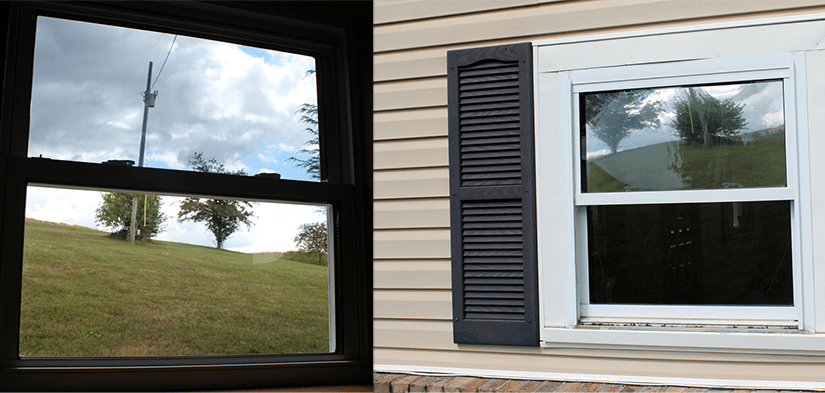
I am also pleased with the appearance of the film. From the inside it looks like you are looking through good quality polarized sun glasses, and from the outside the glass is very reflective. The reflection acts much like a mirror on the outside, and adds privacy as well as better efficiency to the house. In the picture below, the solar window film has been applied to the top pane, but not yet to the bottom pane. It almost appears like the window is open at the bottom, but that is just due to how much privacy the film adds to the window.

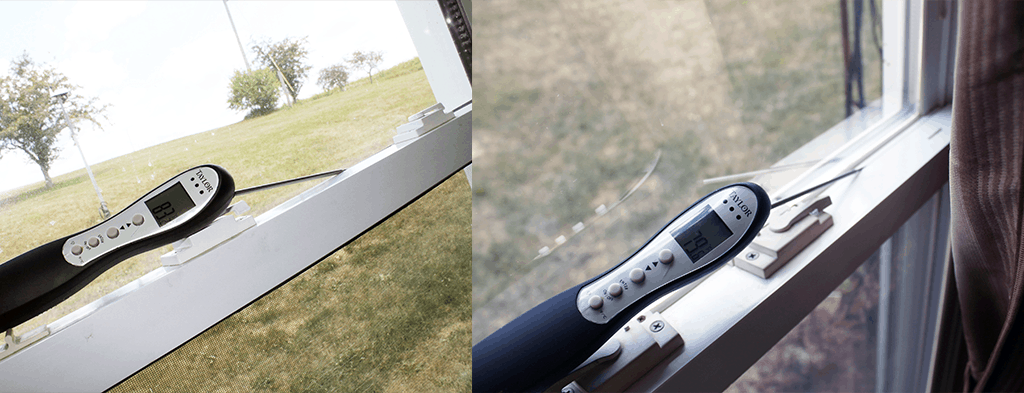
I also could feel a very large difference in the amount of heat on my arms when standing in front of a window without the solar window film, as compared to one that did. I placed a digital cooking thermometer in the same spot of two windows on the same side of the house for 5 minutes. You can see the major difference between how much the thermometer was heated by the window without the solar window film.

How To Install the Window Film
- The installation is not as bad as I expected, although for a flawless result you need to have the window surface squeaky clean and spotless. It really pays off to scrape any dirt, and literally buff the window beforehand so there isn’t a streak or speck of dirt.
- After that you spray the window down in application fluid (you can make your own with 1 quart purified water and 1/2 capful of baby shampoo). Don’t be afraid to douse the window pretty heavy. The fluid helps to flush away any remaining dust and dirt that lands on the window before the film is applied, and keeps the adhesive on the film from setting until after you have worked out all the bubbles.
- You cut the film about an inch wider in each dimension for the pane of glass you are installing it on. The film has a clear liner over the adhesive, which is easy to separate by using two pieces of scotch tape at the corner. I used a flat surface with one corner taped down to hold the film as I peeled off the liner. As the liner comes off, spray the film adhesive with the application fluid so that it is not sticky, and cannot accidentally stick to itself. Two people can make this step a little easier, however I was able to do it myself without too much trouble.
- Then, after making sure the window is still plenty wet with application fluid, hold the film near the glass and it will flow up against it effortlessly. You can then gently slide the film around until it is positioned how you want. Once it is in position, spray the top of the film with application fluid as well. This serves to lubricate the film and prevent chatter by the squeegee in the next steps.
- Use the squeegee to press the water and bubbles out in the center of the film from top to bottom. Then from the center to each side, again working top to bottom. This will force out the application fluid and air trapped between the film and the glass, as well as any contaminants that snuck in after you cleaned the window. Squeegee until the majority of the bubbles in the film are removed from the film (don’t worry about bubbles near the edges in this step.)
- Next use the hard plastic edge tool (I used an old credit card for this), to press the film up to the first edge you want to trim. I usually trim top edge first, then the sides, and bottom last. You can also use the card to work out any small bubbles you still see in the film towards the nearest edge. Once the film is tucked close to the edge of the glass, you can trim the film with a sharp razor blade, utility knife, etc. Replace the knife / blade as it starts to dull, or you increase the risk of tearing the film.
- Once the film is trimmed once again use the hard card to push the film tight into the edge. Any remaining water will be forced out, which can be dried with an absorbent towel.
- The installation is now complete. If you happen to find a blemish, lint or hair anywhere that you would like to remove, you can peel the film back from the nearest corner for about 24 hours, and re-apply following step 5 on. After about 24 hours the film adhesive will fully adhere.
The video tutorials on Gila Films website are also very helpful, located at http://www.gilafilms.com/help-how-tos


Solar window films are quite beneficial for reducing heat. These energy efficient window films can save your energy cost and protect from harmful ultraviolet rays.