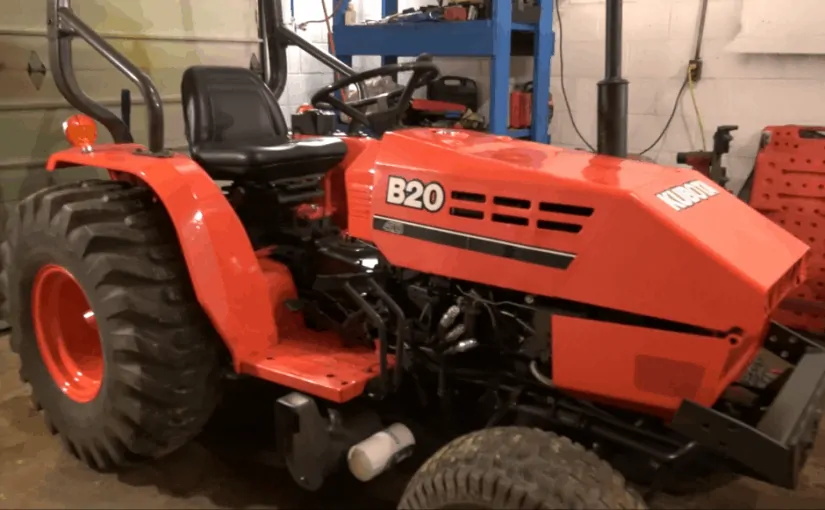
Video progress update!
First startup after initial 30-minute run-in and head bolts re-torqued. Now starting to apply load to break in the engine and seat the piston rings.
This is the first time the tractor has moved under its own power in many years! Entire chassis has been split, separated, cleaned up, restored and painted.
Also talk about some of the remaining issues that still need addressed in the steering column, and the front gear case on the left side wheel.
I have repaired both of the issues discovered during the engine break-in video. The steering column had way to much play and lifting up on the steering wheel cause it to pop out of place, and the front axle had a major oil leak at the front left hub.
The repair to the steering was much more difficult than I had expected! Instead of being a broken shear-pin like I had hoped, it turned out the input shaft to the power steering box had broken instead of the pin. It was amazing I had any steering at all!

A replacement power steering box from Kubota was over $600, and I didn’t see any used ones available online. A look at the parts tear down showed me that welding to this shaft was likely to be an issue, as it had rubber seals o-rings on the internal worm gear portion. After talking over options with several friends, we came up with the plan to drill a new hole in the shaft. There were a couple hurdles to this.
First – the shaft is hardened. None of the drill bits I had could even scratch this material. After researching online, I read first about ultra expensive carbide bits for hardened steel, and than about people using inexpensive carbide masonry bits the same way. I bought some carbide bits intended for glass and ceramics and they worked great!
I had to remove the top cover to the power steering box for clearance so I taped it all up to keep the metal shavings out of the inside. I then went nice and slow with the smallest bit in the kit, and then stepped up progressively to the size I needed for my through-bolt.

The second issue was that there wasn’t actually enough room on the upper steering shaft for the second hole. This wasn’t too big of a problem though. I just welded on some tabs / ears at the bottom to lengthen it, and then through holed that. This was plain old steel so the welding and drilling went uneventful.

The last hurdle to the repair was that now that I had a hole in each piece, once the power steering box cover was installed there wasn’t enough room to install the bolt! One more hole needed, this time in the cast iron cover for installing the bolt. This one drilled very easy with standard bits as well!

Now I just needed to thread the steering collumn cover back on over the repaired shaft and good to go!

The front axle oil leak was in the swivel point for the left wheel. The bushings in the top knuckle support, which also supports this swivel, were very worn allowing the two sides to have a lot of free play. That movement combined with old dry-rotted oil seals resulted in a very fast oil leak!
I separated the wheel hub gear case from the main axle. I chipped out the old brass bushing from the knuckle support and pressed in a new one. I then removed the two old oil seals. There is a seal in the hub gear case, and another one on the axle arm itself. The oil in the main axle is isolated from the oil in the hub / gear cases on each side. When changing / checking axle oil, make sure you check all three fill points!


I used a trick I had read about for removing both seals since they were in blind holes. I carefully screwed a dry wall screw into the old seal, and then used large vice grips attached to the screw with a hammer to tap the seals out. I tapped the new seals in with a mallet and soft piece of wood to protect the new seals.

I also took the opportunity to replace the torn boots on all three ball joints on the front axle, packing them with fresh grease. Having one of those pop apart with a loaded bucket while on a hill does not sound like fun! And those sort of things have a knack for failing at the most inopportune time!

Click here for Part 8 on the Kubota B20 rebuild.


speak for you.
comprare patente di Guida
How do you get the bevel gear back up on shaft? I am trying to get mine back on and it seems to be hitting something and will not go up high enough for the top 4 bolt holes to go up to mount. thanks