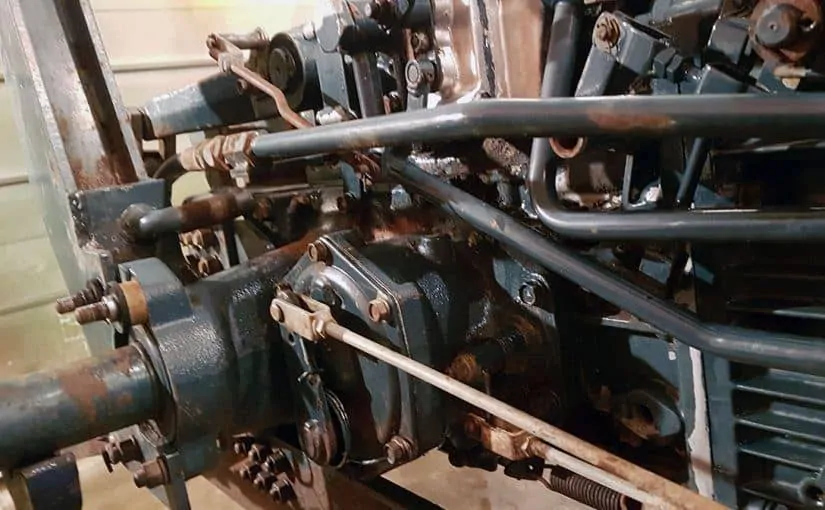
I repeated the compression test because I didn’t record the numbers before. In order to perform a compression test (using the injector holes), you will need to remove:
- Air Filter Housing
- Metal Injector Lines
- Fuel Overflow / Bleed Line
- Metal OverFlow / Bleed Line Rail
- Injector Nozzles (make sure to remove the copper gasket from the bore for each one as well)
At this point you can test the compression of each cylinder. While cranking the engine, be sure to pull and hold the engine shutoff rod, so the injection pump is not squirting diesel fuel.You can optionally disconnect the glow plugs power wire to conserve battery as well.
The values I read for each cylinder was from back of engine to front (dry):
80 PSI – 160 PSI – 160 PSI
Since the #1 cylinder was especially low, I squirted some oil in the cylinder and repeated (wet).The value rose to 150 psi, which is a good indication the issue is with the piston rings, and not a valve issue.
The service manual spec for allowable range on compression is 337-448 psi, so all three cylinders are well below spec.
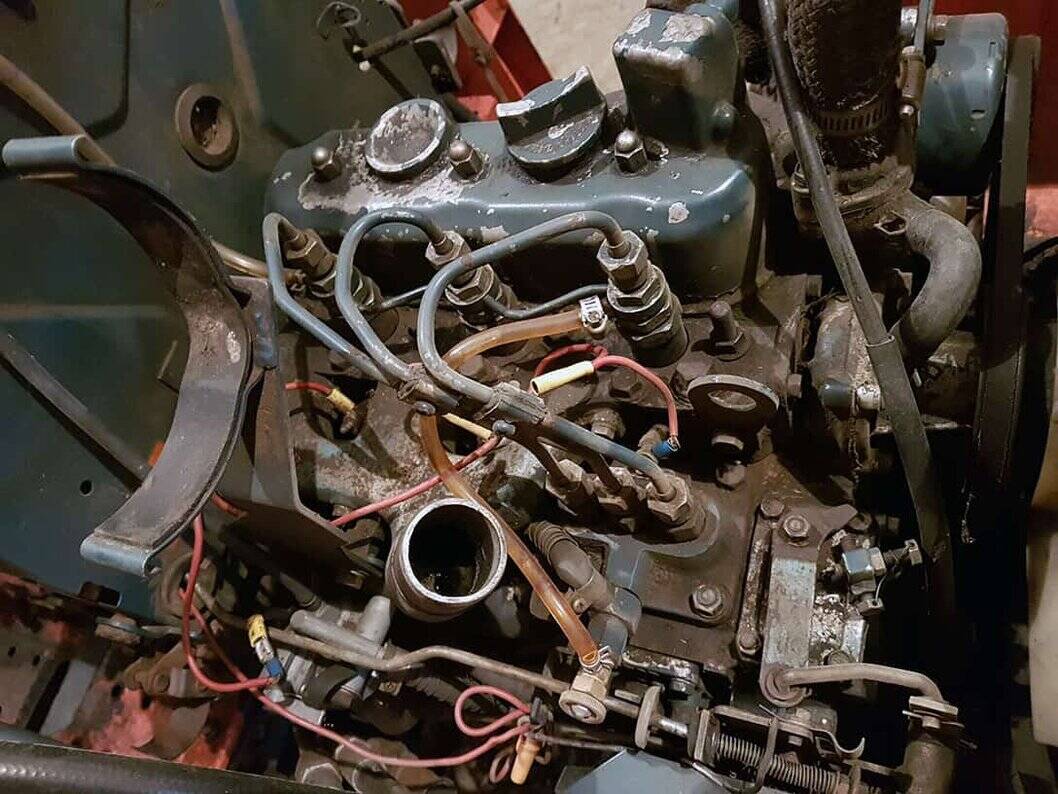
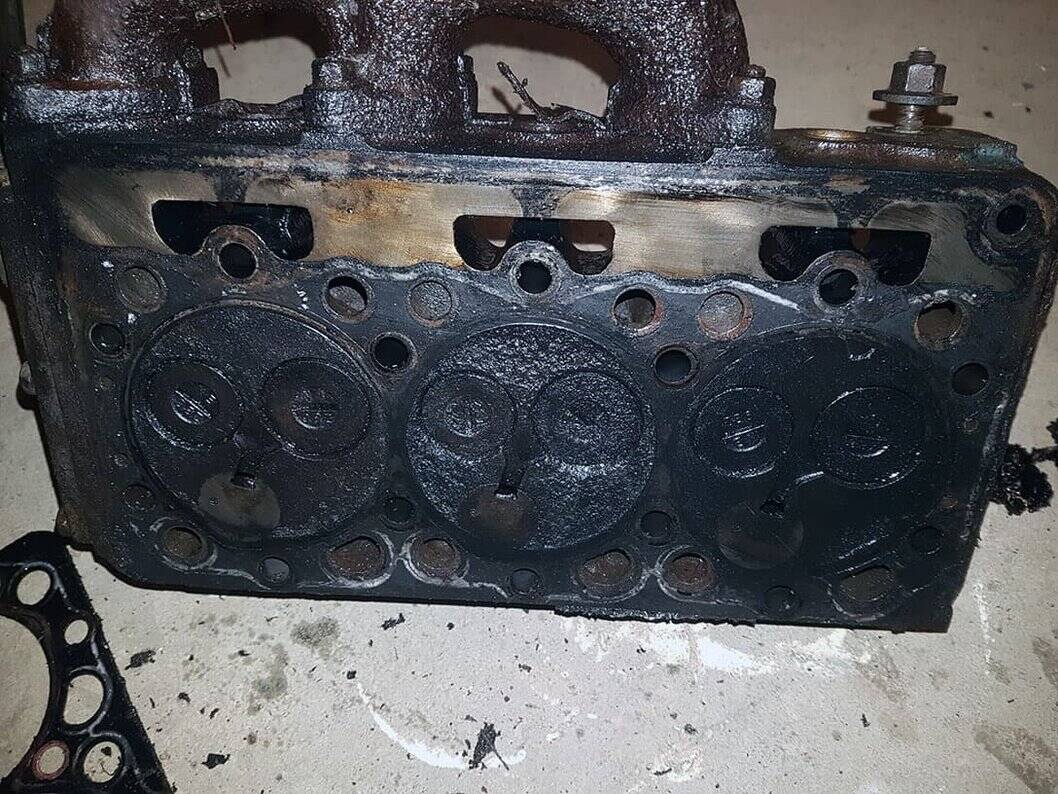
At this point I pulled the head to check for any signs of damage to either the head, valves, or the pistons.
To remove the engine head on this tractor, you will need to (starting with parts already removed for compression test above):
- Drain Oil & Coolant
- Remove Air Filter Bracket & Fuel Filter Mounting Bolts
- Remove Firewall Mounting Bracket Bolts to Head
- Remove Exhaust Manifold (optional)
- Disconnect Fuel Supply Hose to Injection Pump
- Remove Air Intake Manifold
- Remove Glow Plugs
- Remove Top Radiator Hose
- Remove Top Mounting Bolt on Alternator (and swing alternator out of way)
- Move Fan Belt OfF Pulley
- Remove Valve Cover
- Remove Valve Rocker Arm Assembly
- Remove Push Rods (inspect to make sure they are all straight)
- Remove Head Bolts
- Lift Head Assembly from Engine
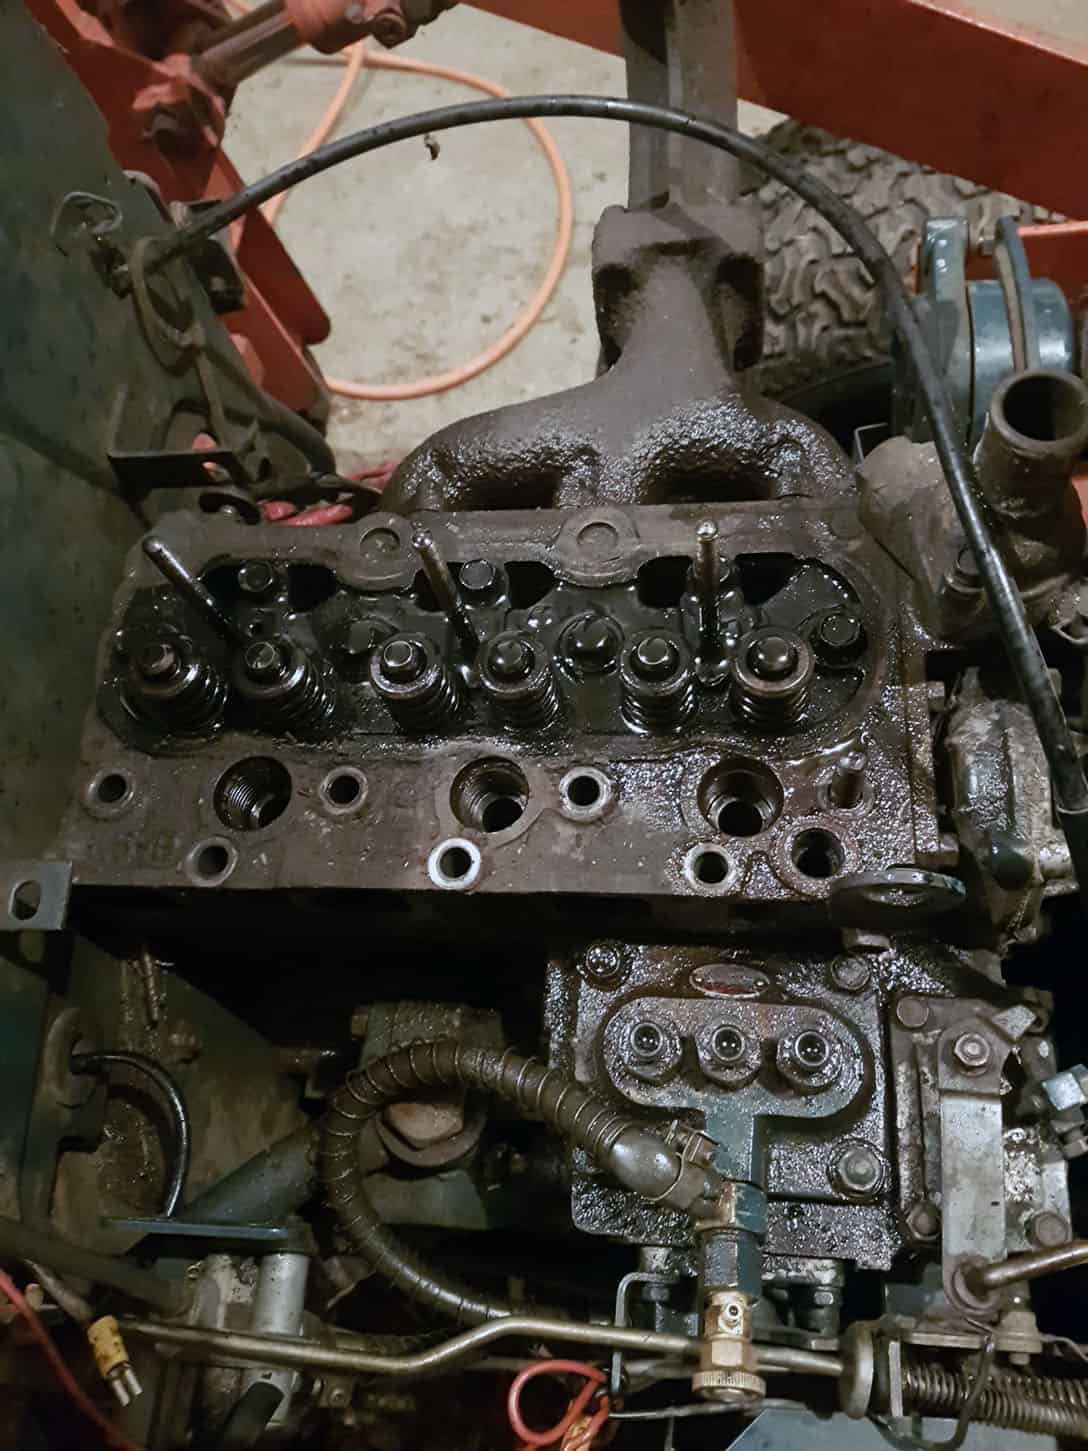
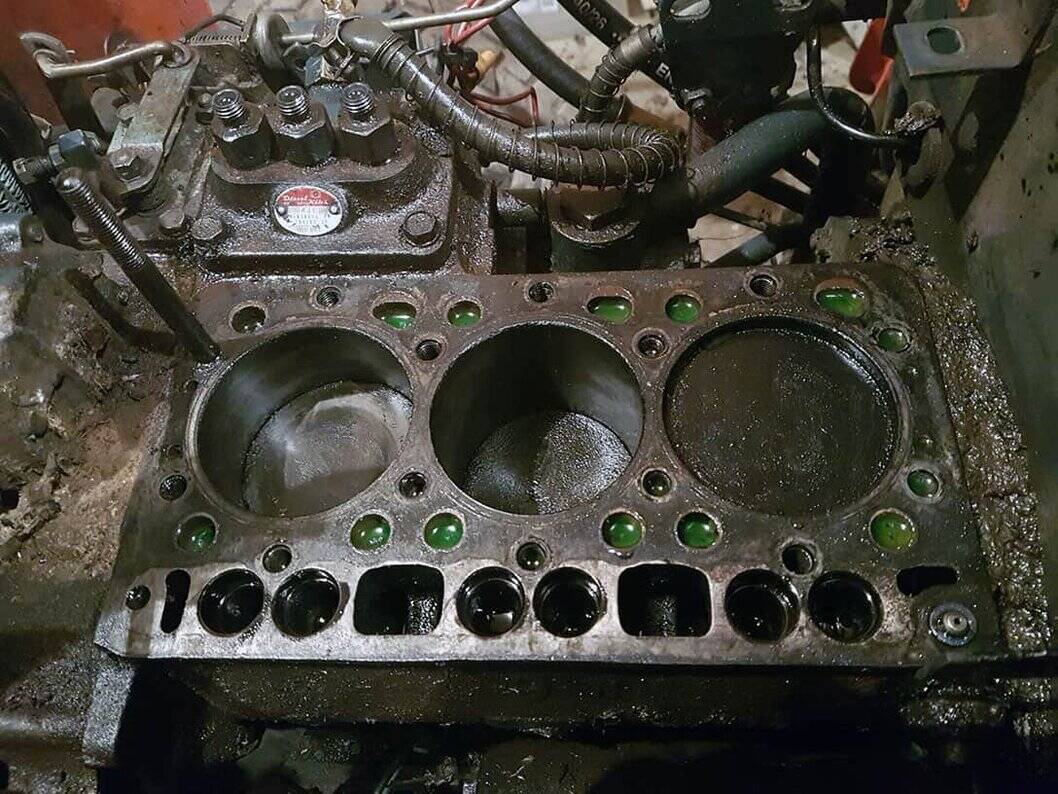
The engine is quite crusty with carbon deposits, but I don’t seen any signs of head, piston, or valve damage yet. I will post a follow up again once I have pulled the valves apart and cleaned everything up for a more thorough inspection.
Click here for Part 5 on the Kubota B20 rebuild.

