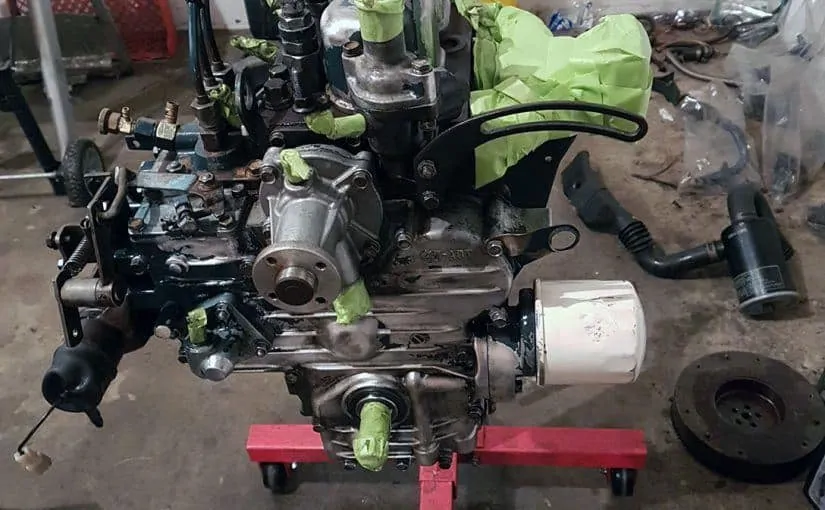
Lots of progress to update!
Two of the cylinders cleaned up to within spec after surface honing. Cylinder #2 had some very heavy pitting, most likely from water sitting in the cylinder. It needed to be re-sleeved.
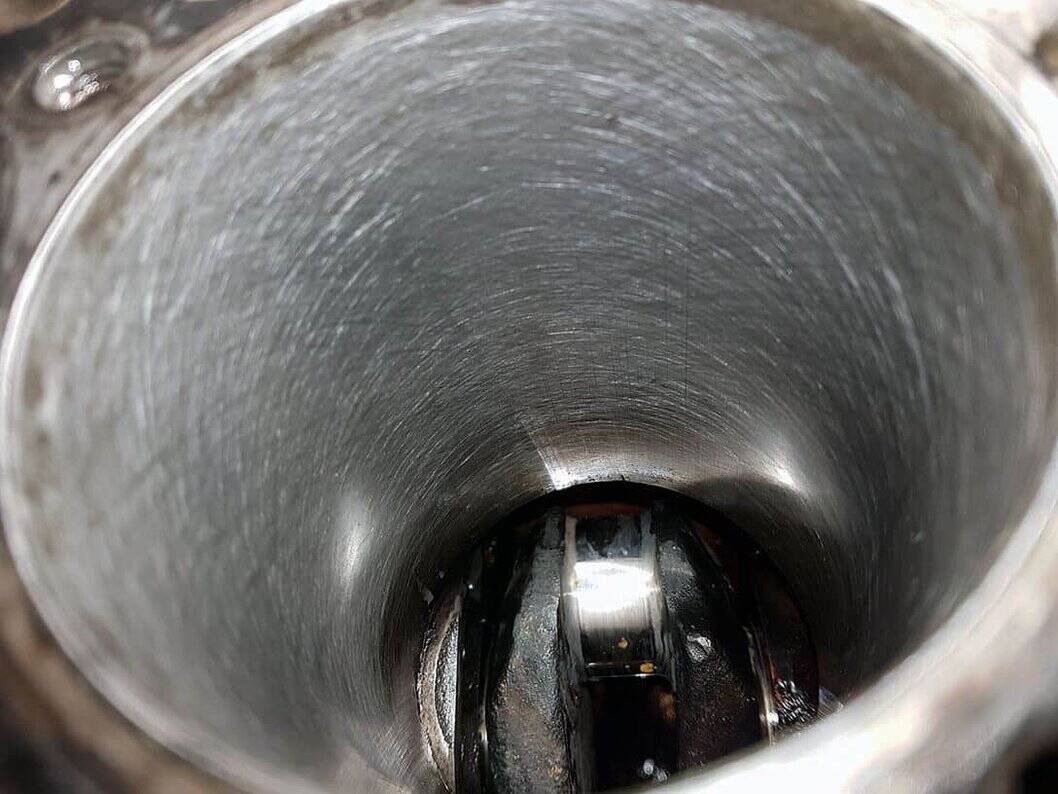
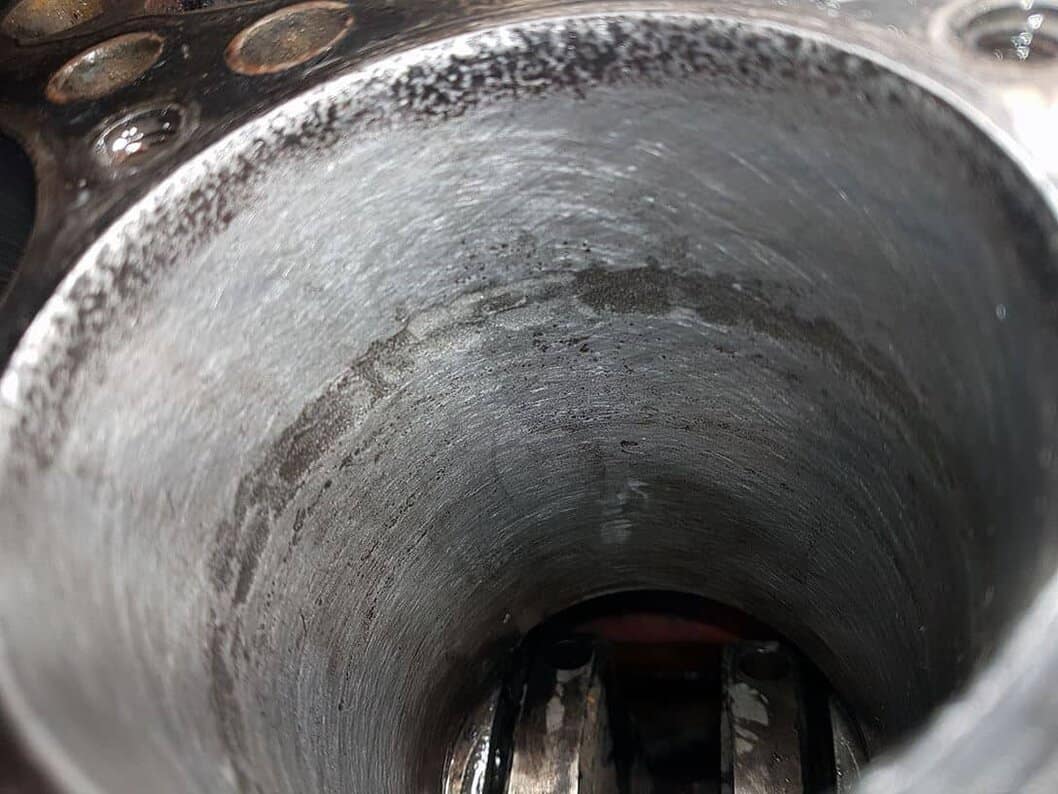
I took on re-sleeving the cylinder myself, and it was much more work than I anticipated. I removed the old sleeve by carefully chiseling a slit from top to bottom. I stuck the new one in the deep freezer before installing, but it still took several hours of work in combination with additional ice packs to finally drive it in. If I ever to another one of these, I am definitely going to use dry ice.
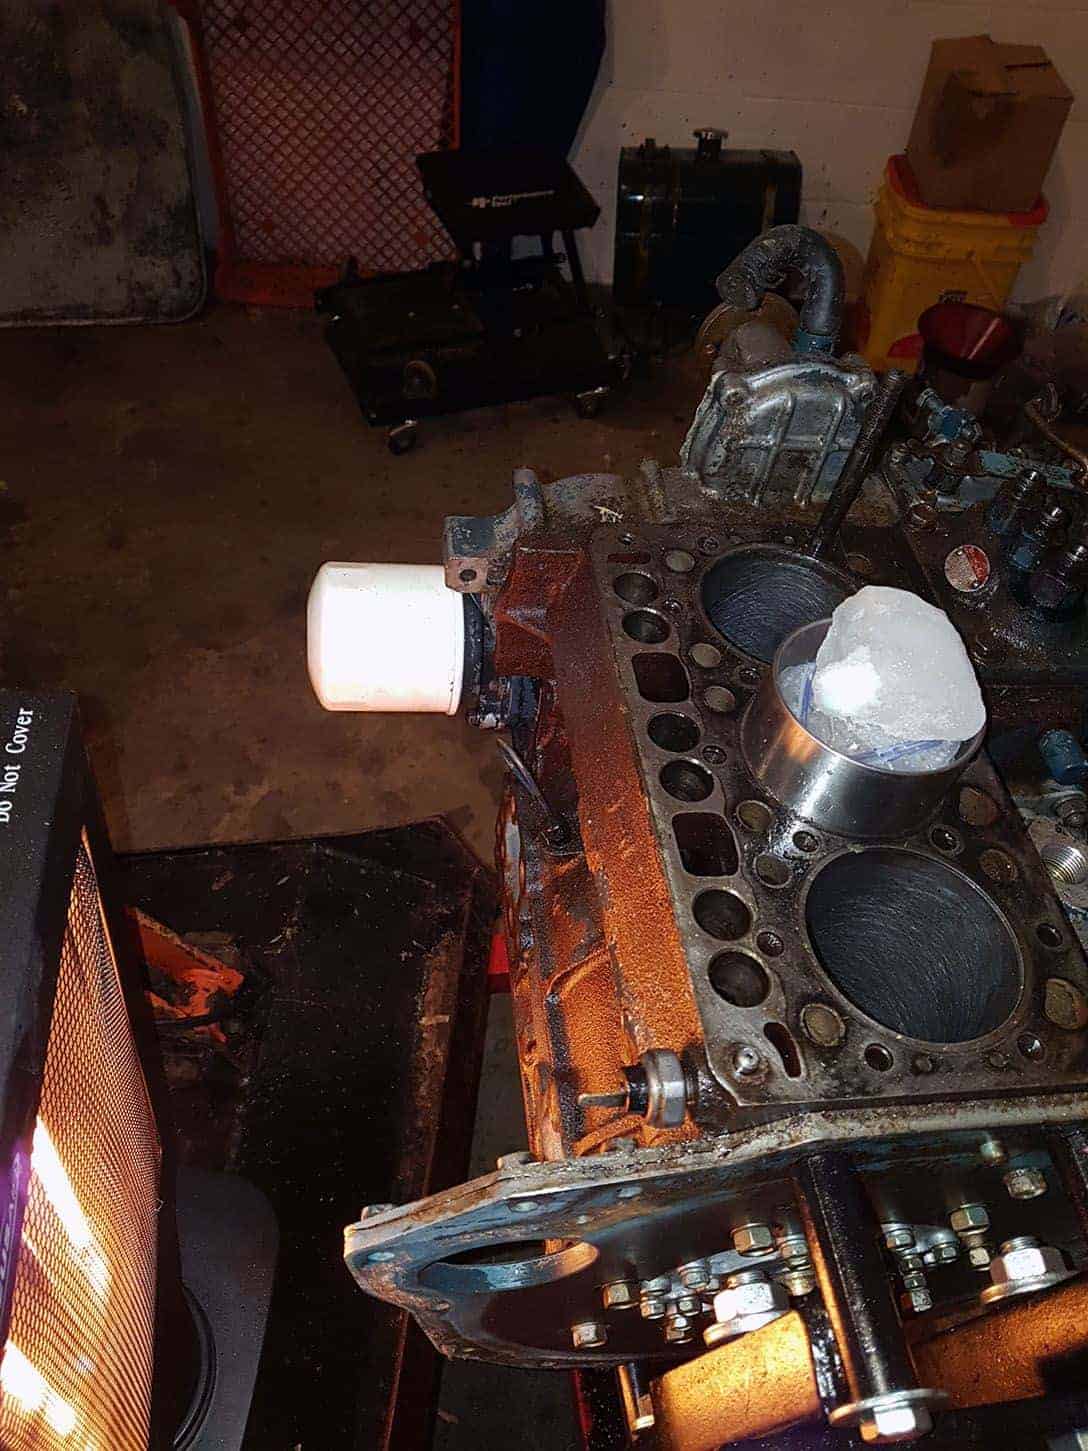
Another surprise was to learn that Kubota cylinder sleeves are not bored to final size, due to the amount of force they require for installing. I was not able to find a local machine shop that could do the work that wasn’t already backed up several months. I decided to try boring it myself using a neighbors hone that he was sure could also bore. I was skeptical, but to my surprise, with some patience and frequent bore measurements it worked great! This wasn’t the common inexpensive cylinder hones. It had gear driven racks that applied the pressure to the stones and kept them parallel. After several hours of working with it, I had a cylinder within 3 thousands from top to bottom, and side to side, which is within the factory specs.
After flushing all of the honing grit out of the crankcase really well, I changed out all the crankshaft main bearings and seals. I also polished the crankshaft journals.
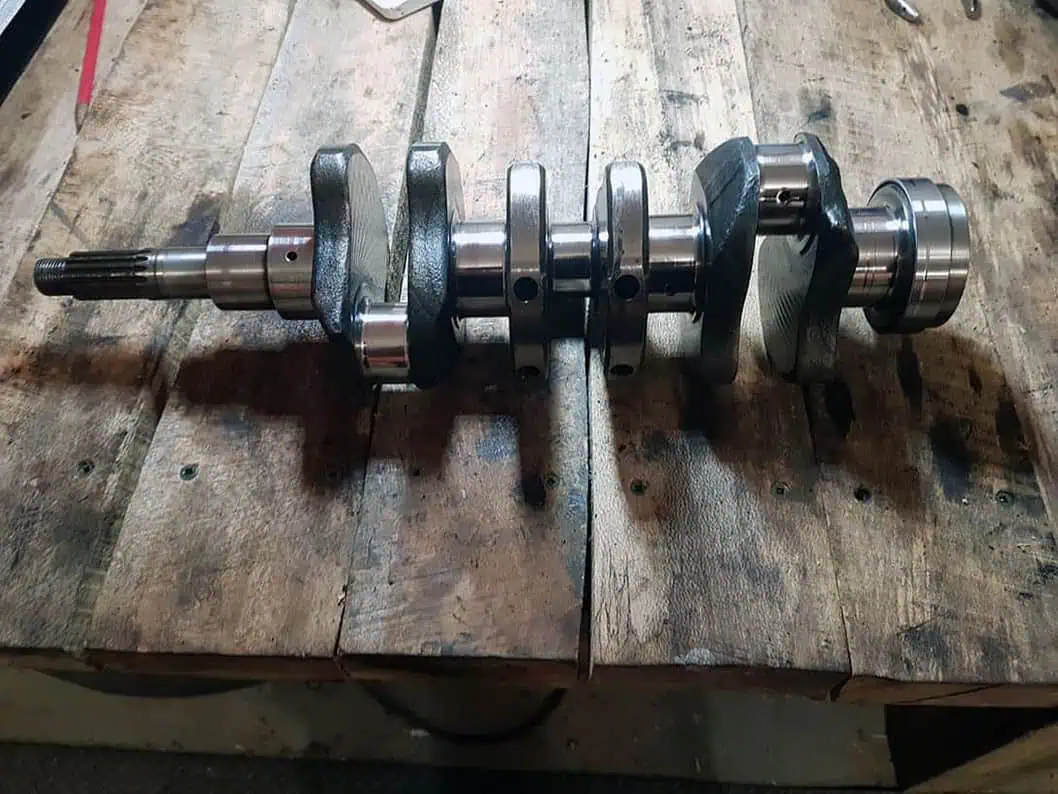
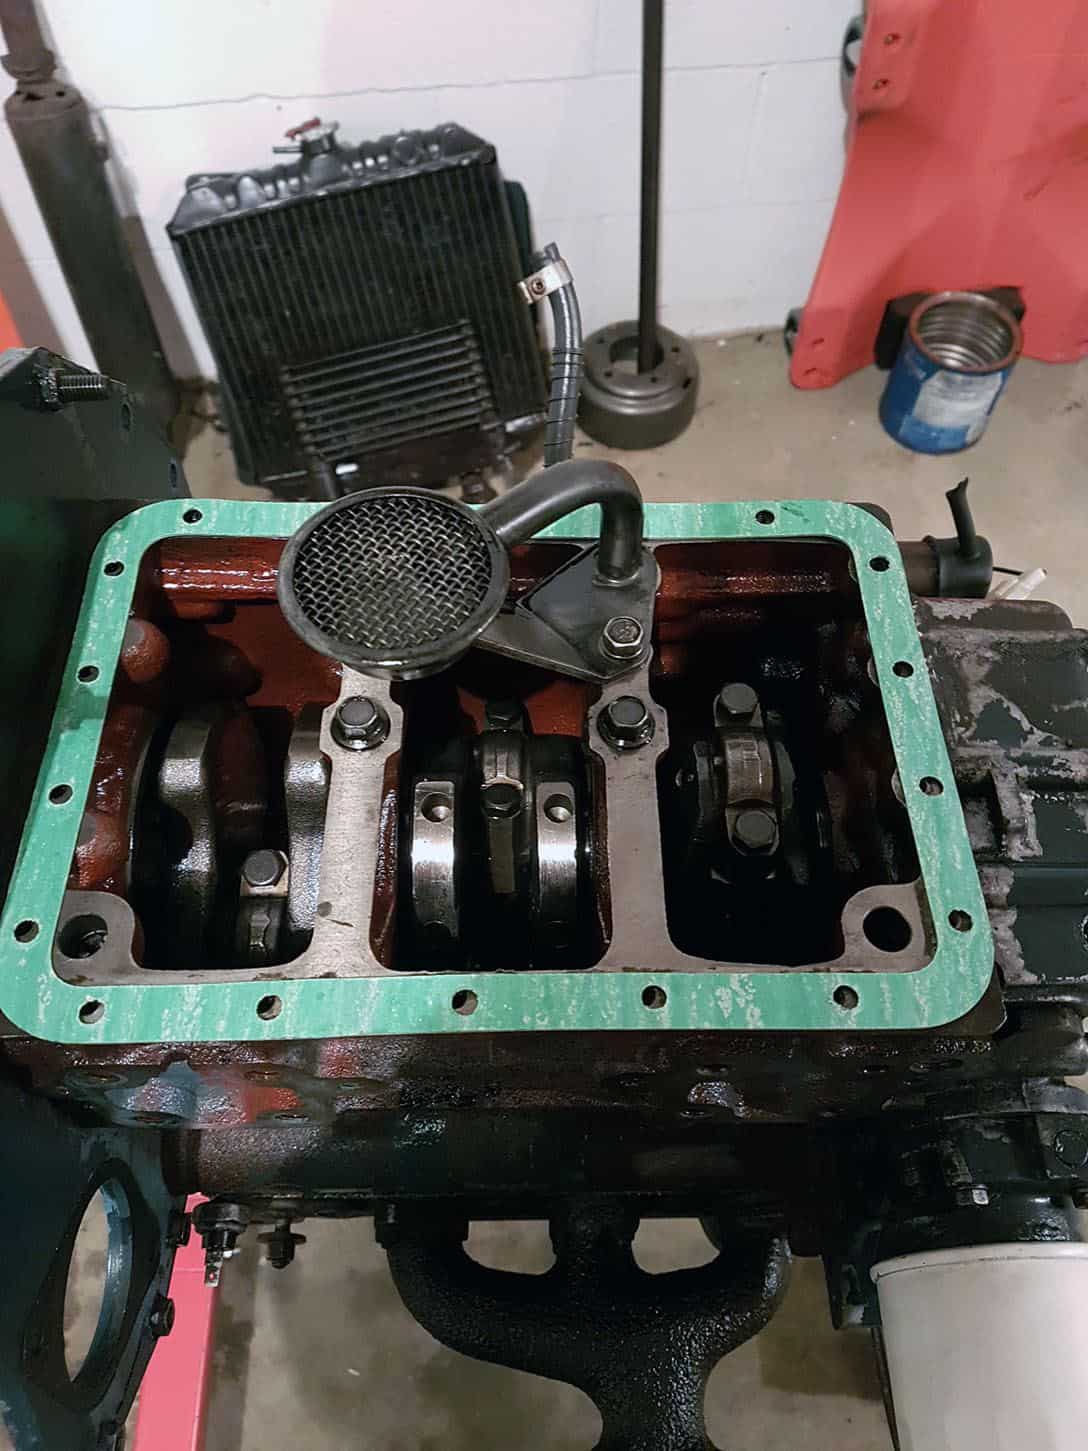
I ordered the rebuild kit that included new pistons along with the rings. Here is a shot of the crankcase all cleaned up right before putting the oil pan back on.
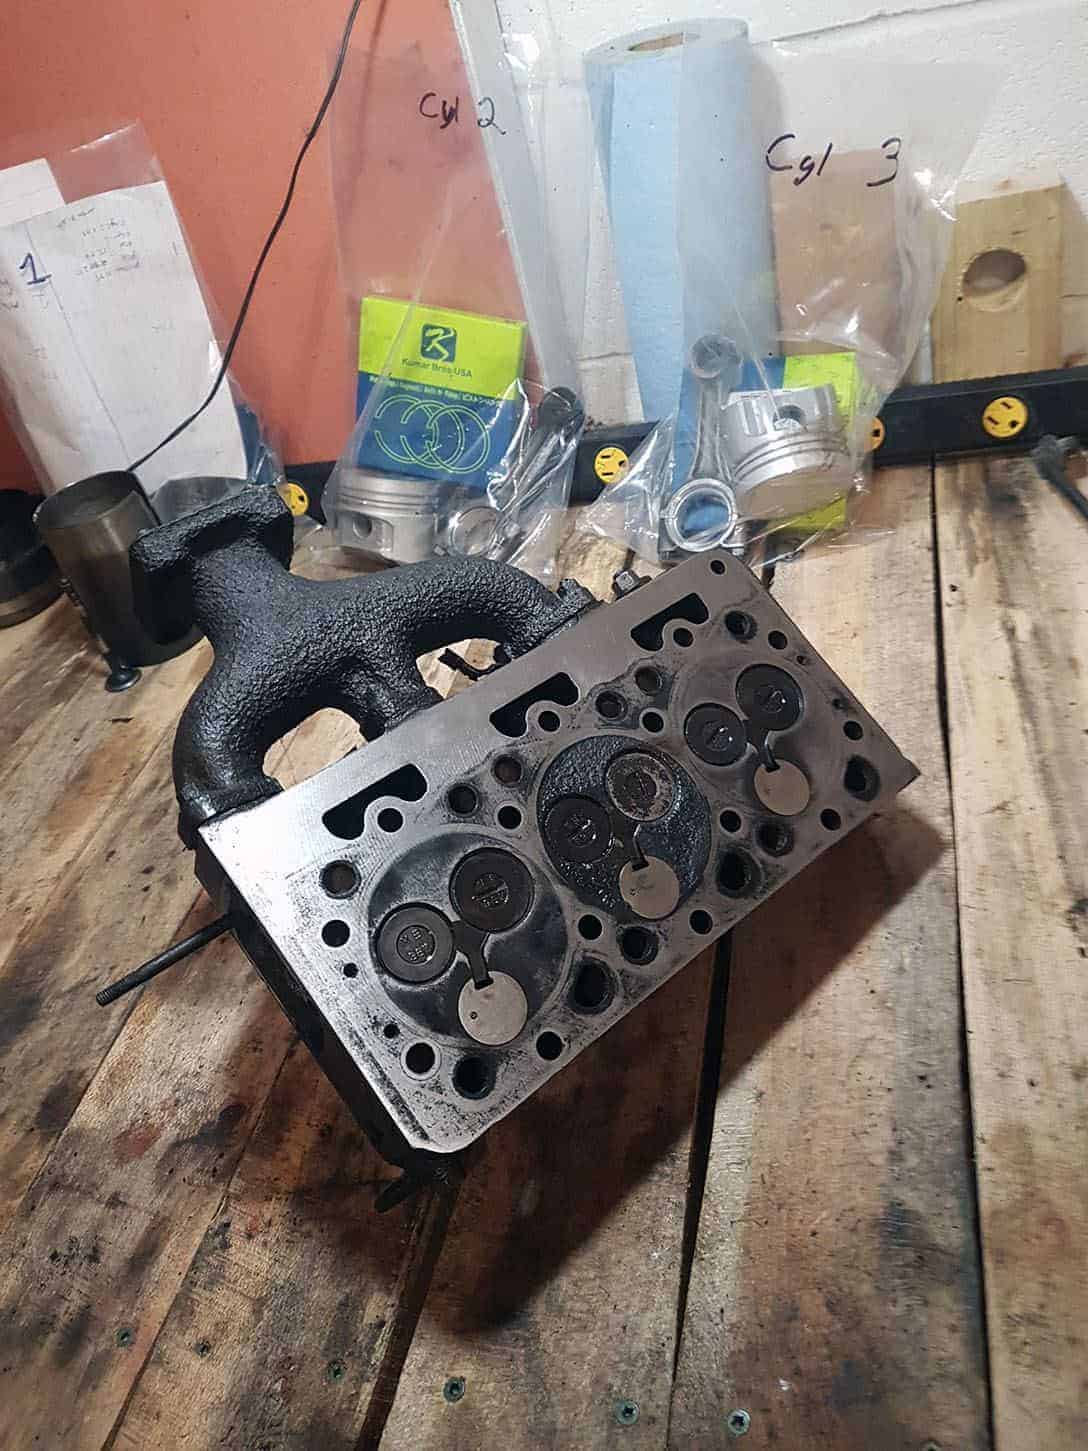
Next, I resurfaced the engine head and ground and polished the valve seats. One of the exhaust valves needed replacing due to stem wear.
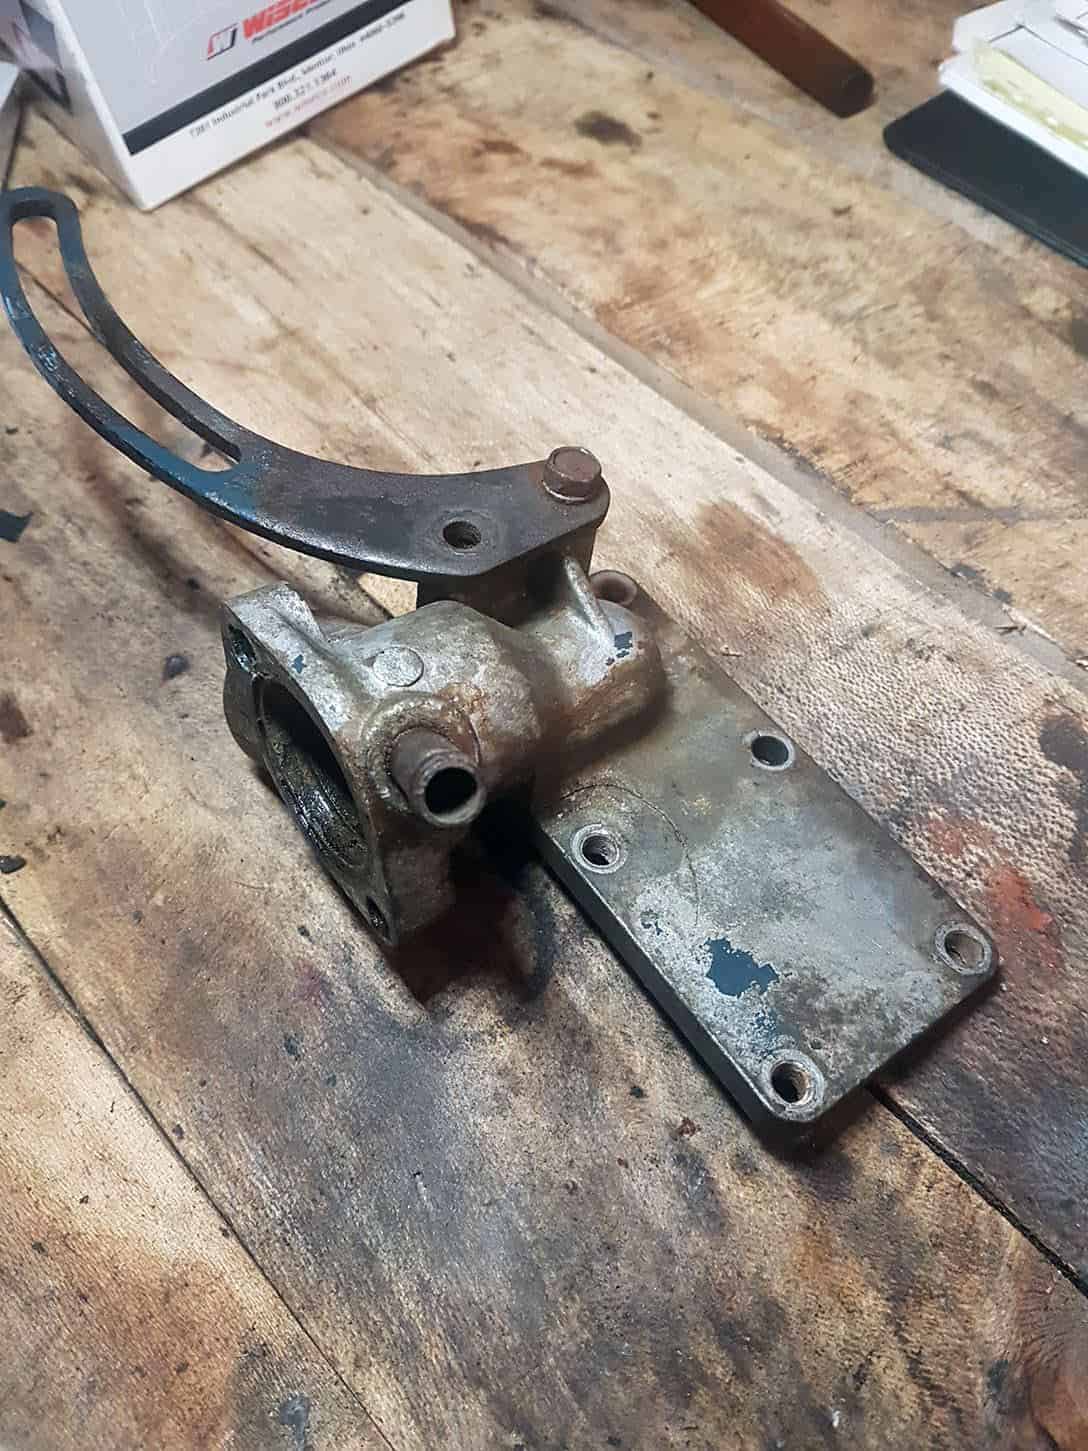
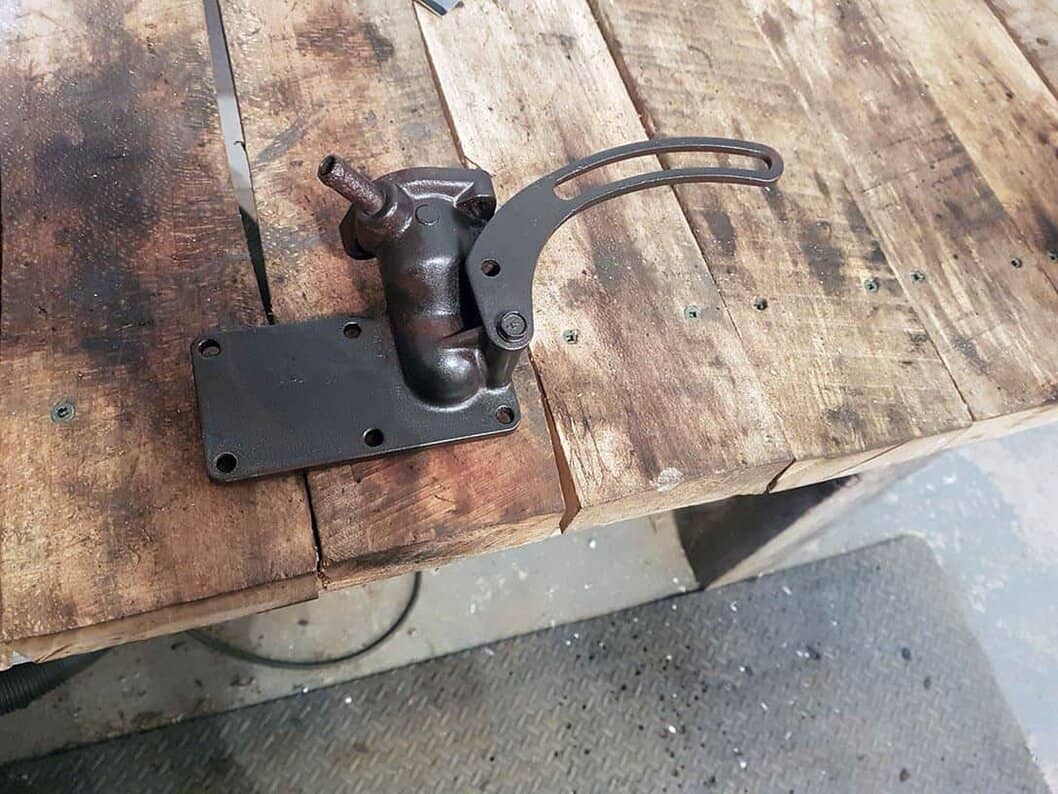
While putting everything back together, I think I found the cause for the original overheating problems. The T-Stat housing had a crack all the way through, in a location that was almost impossible to see when the engine was assembled. It was a pretty expensive part to replace, so I decided to braze it with Allumiweld rods, which are made for repairing aluminum.
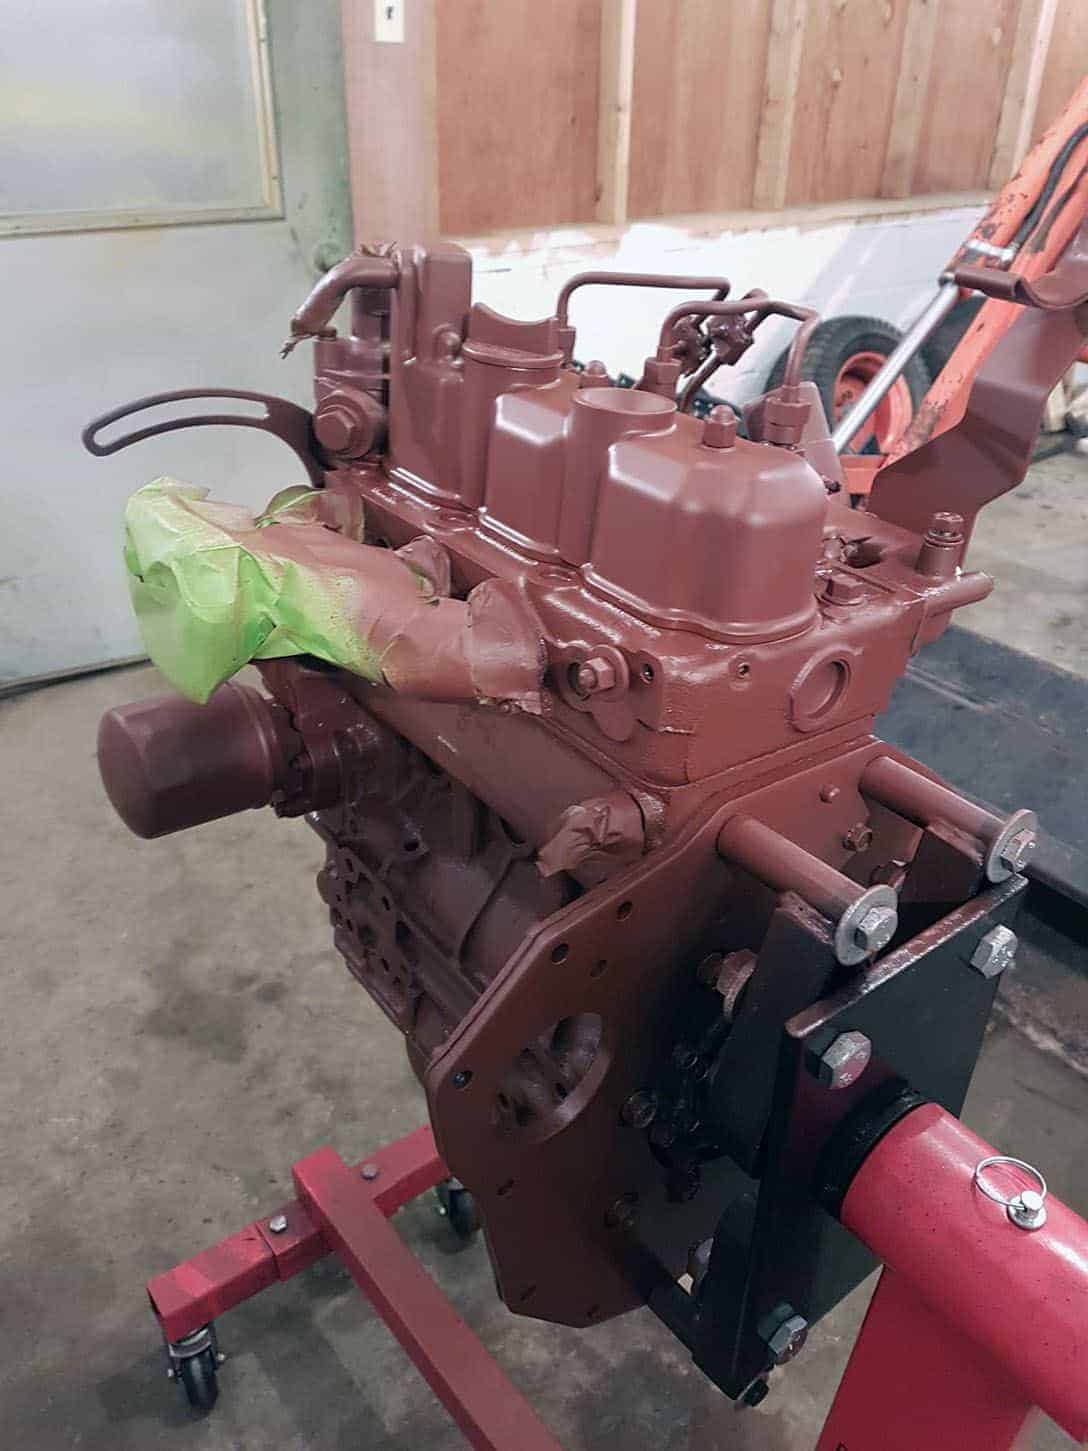
And the final post of updates for now, I have the engine re-assembled and have painted it with primer. It will also be getting a coat of the Kubota Dark Grey Acrylic Enamel before installation.
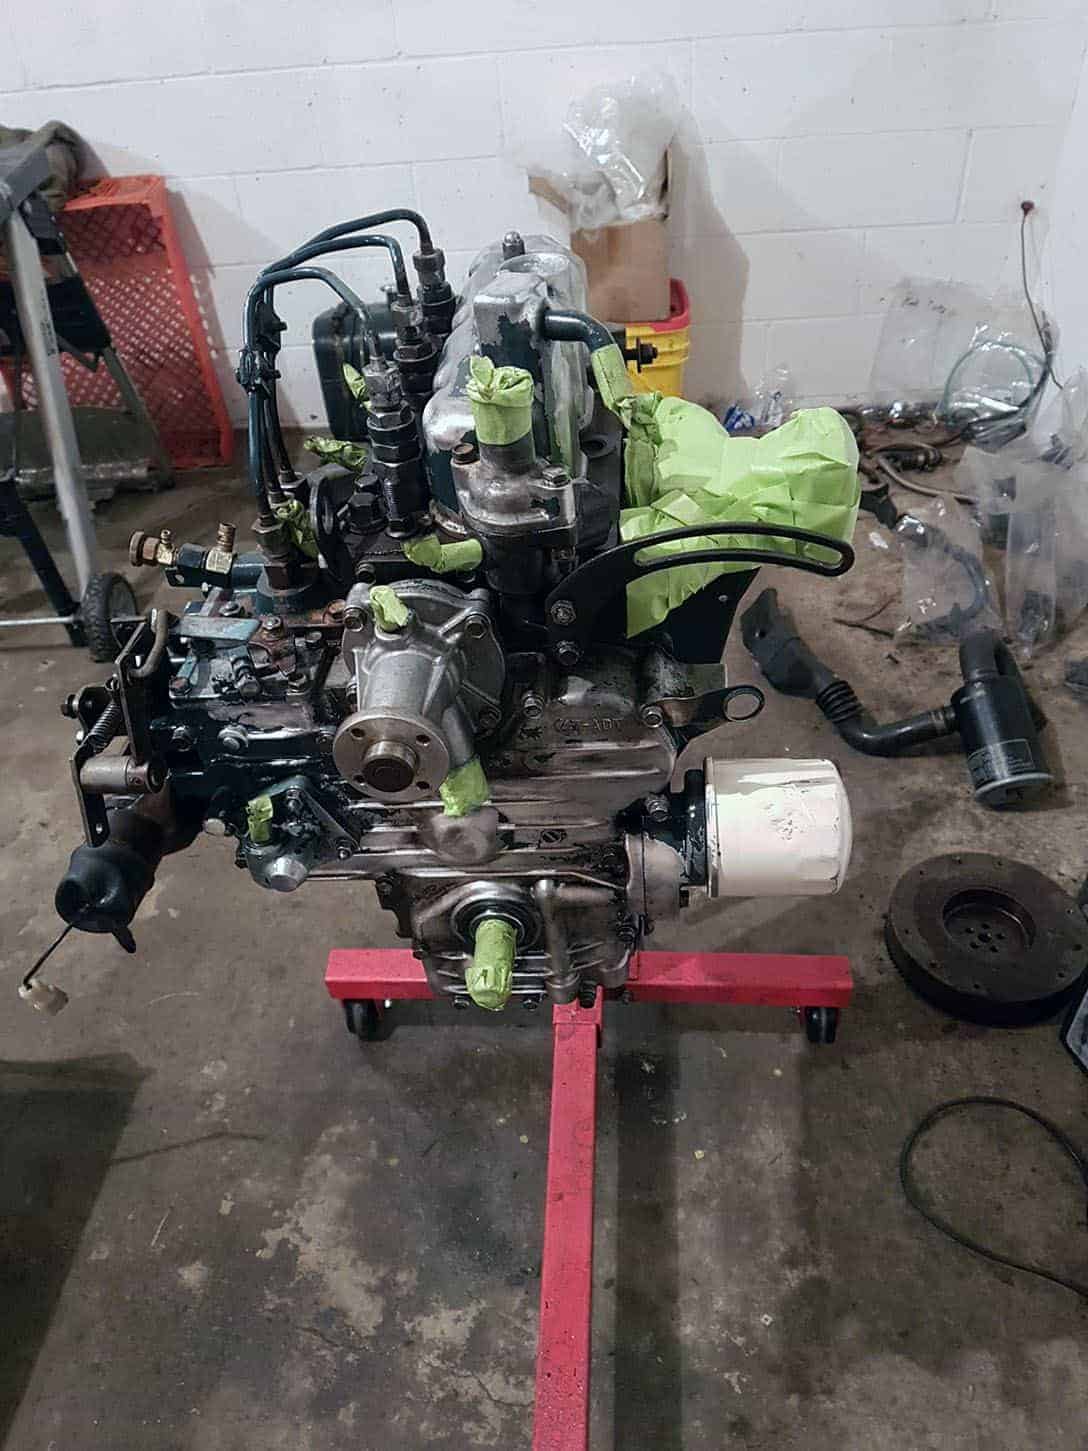
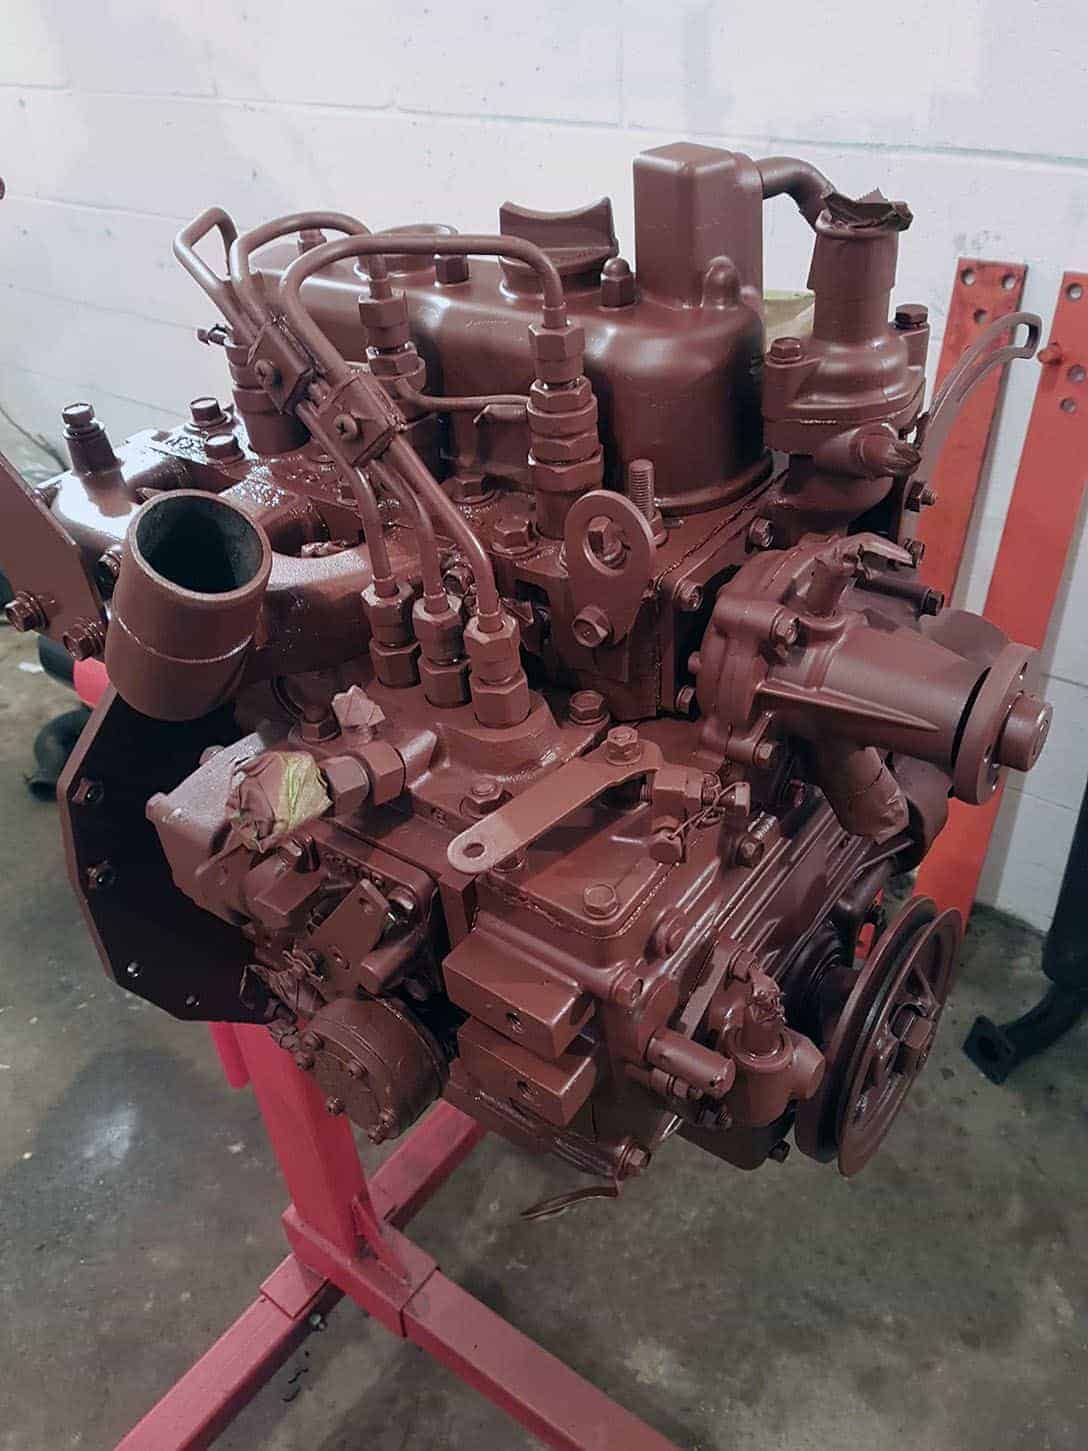
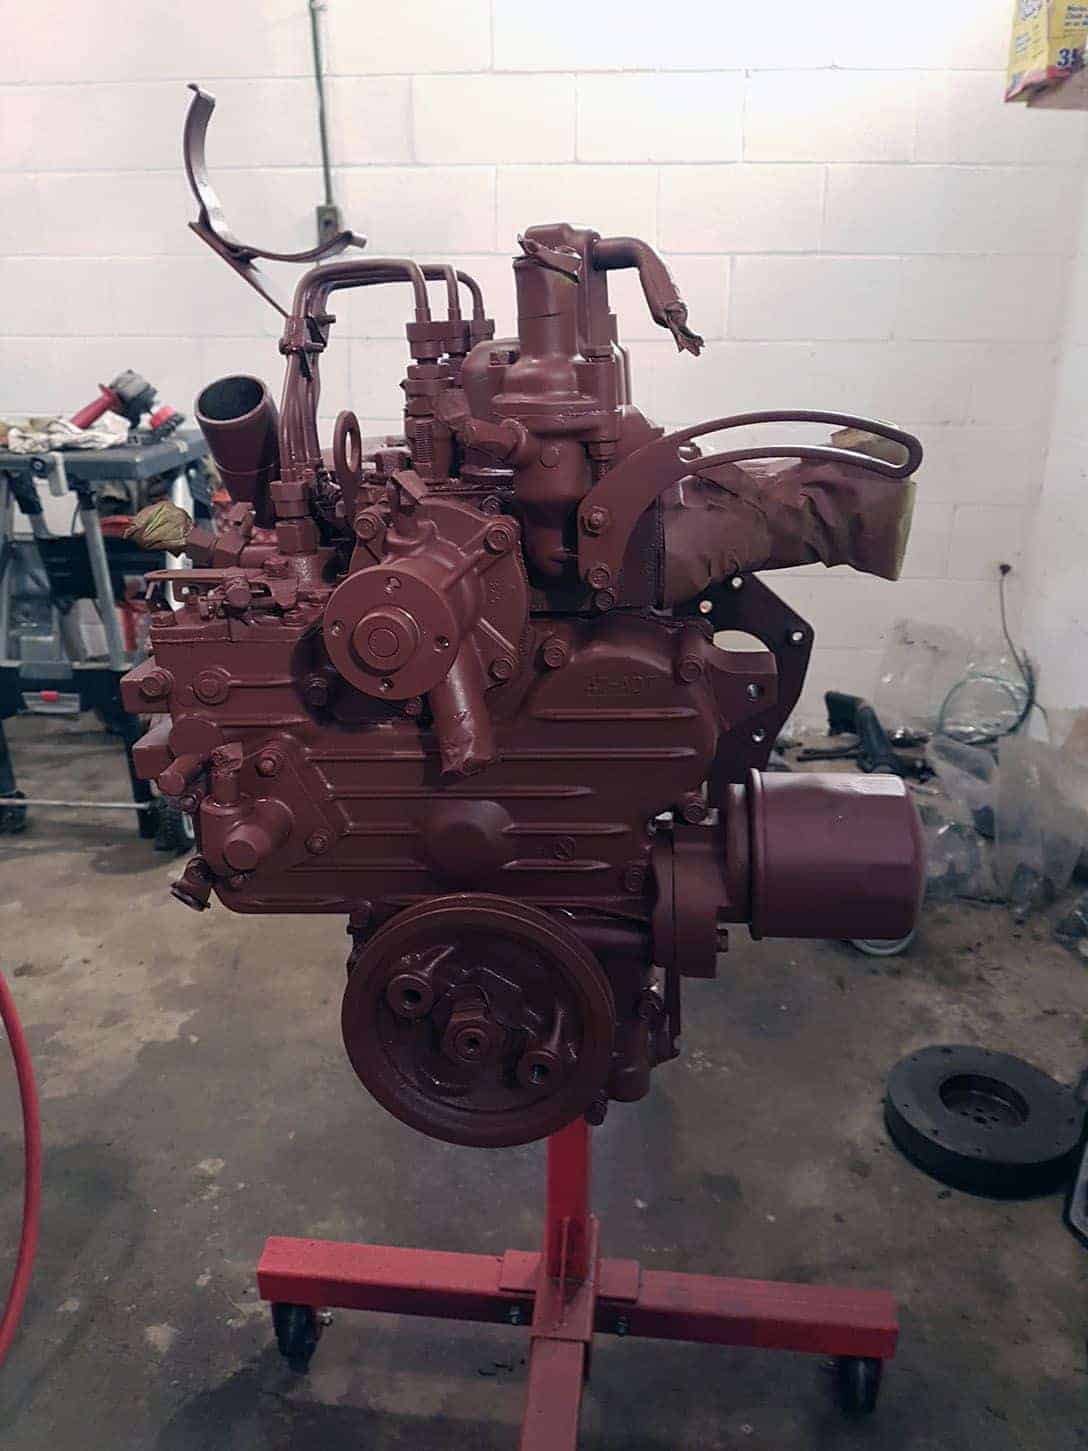
I am now working on cleaning up and painting the rest of the tractor before putting everything back together again. If anybody knows a good source for Kubota Decals, please let me know!
Click here for Part 6 on the Kubota B20 rebuild.

